The Model Context Protocol (MCP) allows Claude to act as a co-pilot directly within your Power BI environment. Instead of copying and pasting code, Claude can now interact with your semantic model to create measures, organize folders, and even document your data.
Prerequisites
Before starting, ensure you have the following:
- Power BI Desktop (with a .pbix file open).
- Claude Desktop app installed on Windows.
- Visual Studio Code (used to host the MCP extension).
Step 1: Install the Power BI Modeling MCP Extension
The MCP server is distributed as a VS Code extension that bridges the gap between Claude and Power BI.
- Open Visual Studio Code.
- Navigate to the Extensions view (Ctrl+Shift+X).
- Search for “Power BI Modeling MCP” (published by Microsoft).
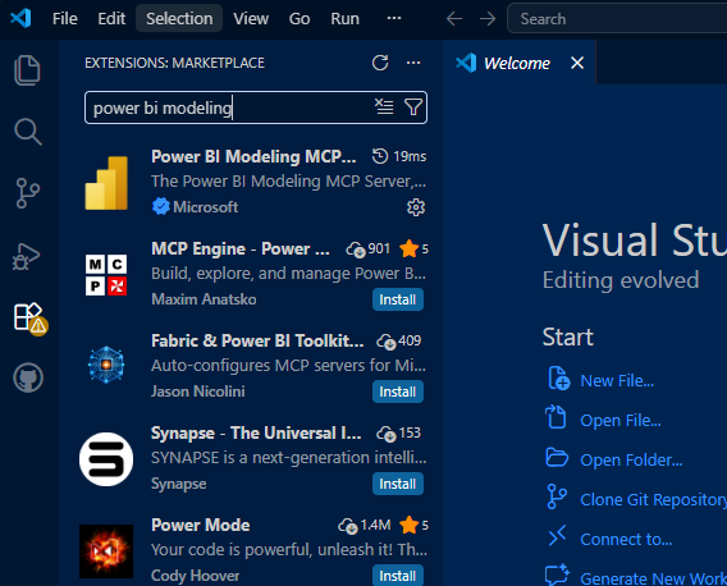
- Click Install.
Step 2: Locate the MCP Server Path
Claude needs to know where the executable for this server lives on your machine.
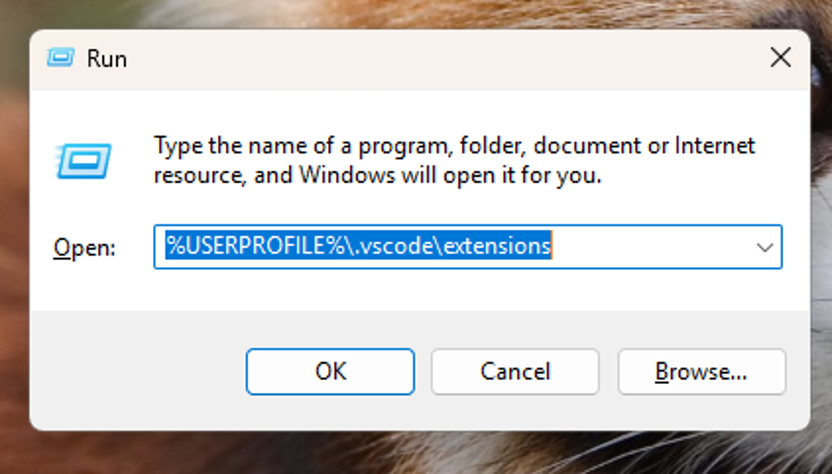
- In Windows Explorer, navigate to your VS Code extensions folder. It is typically located at:
TYPE WINDOWS + R and then paste this c”
- Find the folder named analysis-services.powerbi-modeling-mcp.
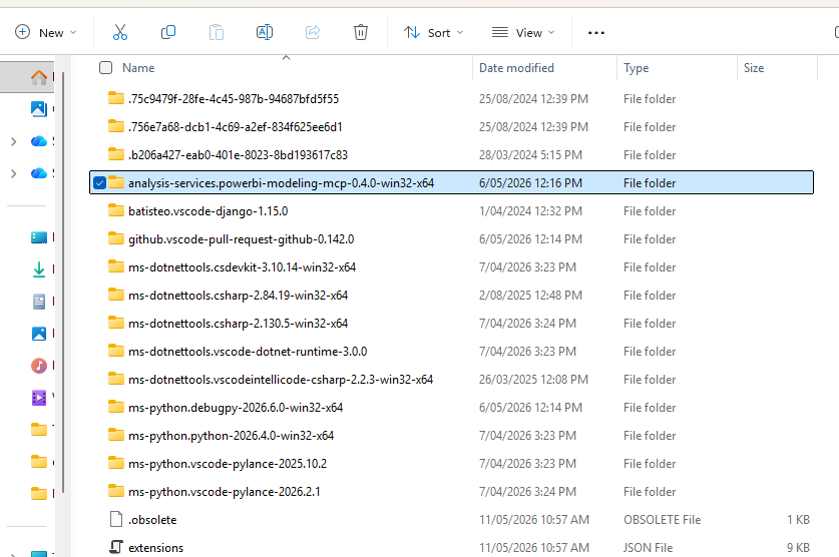
- Then click the server folder.
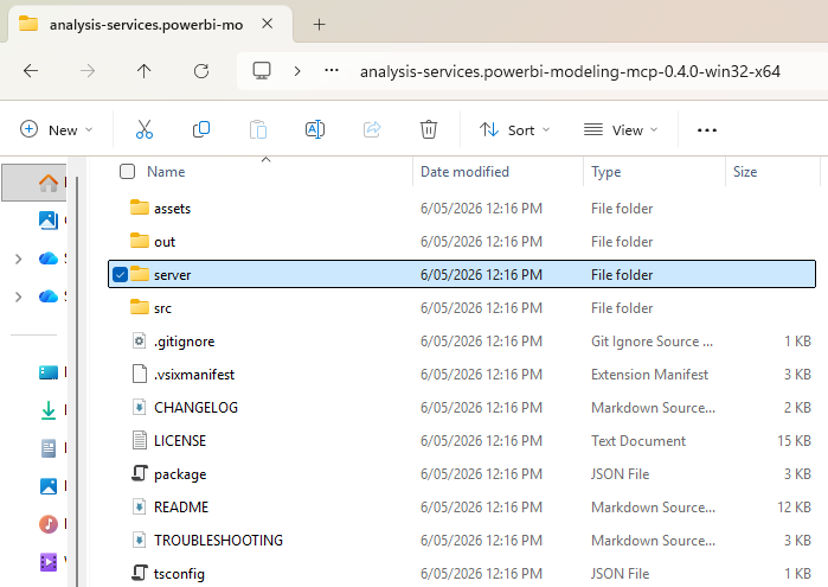
- Inside that folder, find the executable file powerbi-modeling-mcp.exe file.
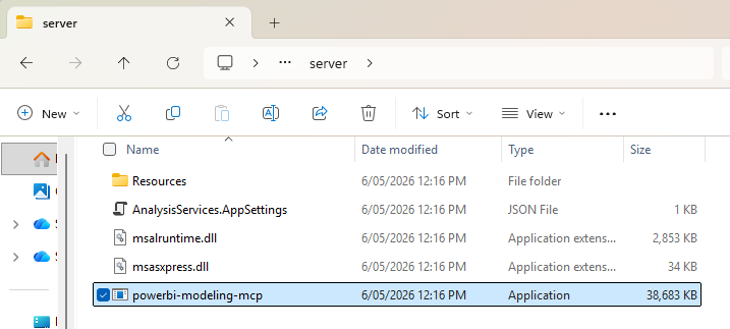
- Copy the full file path.
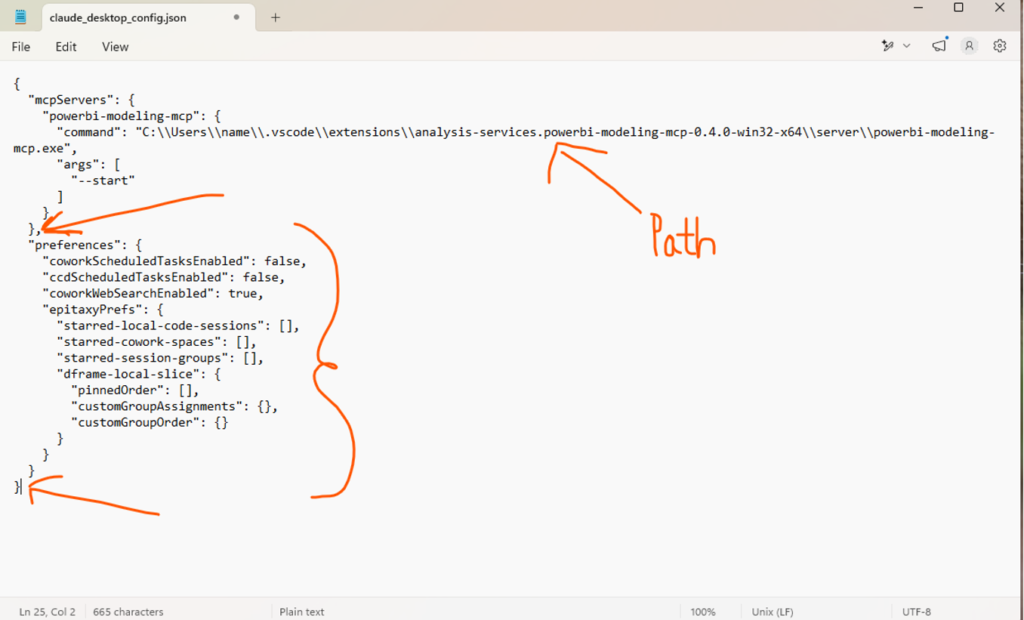
For example – “C:\\Users\\Your Name\\.vscode\\extensions\\analysis-services.powerbi-modeling-mcp-0.1.9-win32-x64\\server\\powerbi-modeling-mcp.exe”

Note: You will need to replace single backslashes (\) with double backslashes (\\) for the configuration file in the next step. And also need to mention the app name ‘powerbi-modiling-mcp.exe’ in the file path
Step 3: Configure Claude Desktop
Now, we need to tell Claude Desktop to use this server.
- Open Claude Desktop.
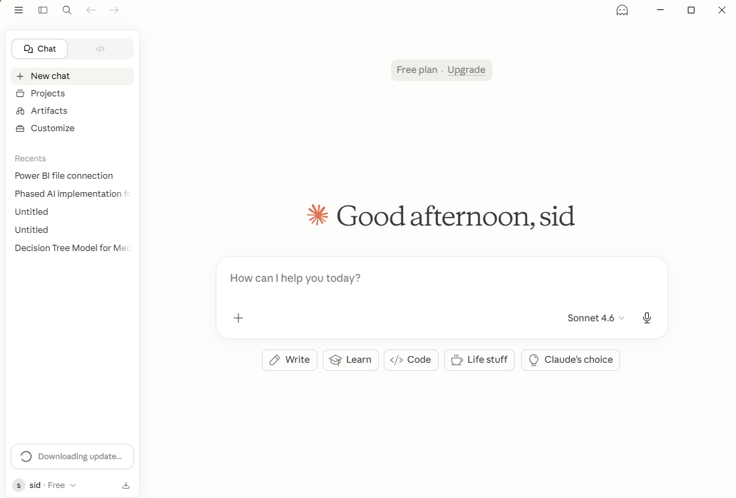
- Go to Settings > Developer.
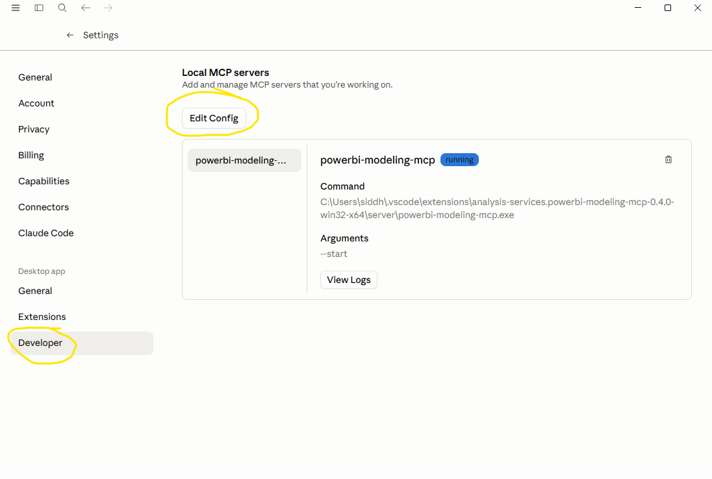
- Click Edit Config. This will open a folder and it contains a file – claude_desktop_config.json. Open this file in any text editor (Notepad).

- Paste and add the following configuration, replacing the command path with the path you copied in Step 2: (after putting comma , after the existing parenthesis ‘)’ at the end of the existing json file)
{
“mcpServers”: {
“powerbi-modeling”: {
“command”: “C:\\Users\\YourName\\.vscode\\extensions\\microsoft.powerbi-modeling-mcp-1.0.0\\bin\\powerbi-mcp.exe”,
“args”: [“–start”],
“type”: “stdio”
}
}
}
- Save and close the file.
Step 4: Restart and Verify – VERY IMPORTANT
For the changes to take effect, you must perform a fresh start.
- Fully exit Claude Desktop (check your system tray to ensure it’s not running in the background).
- Ensure Power BI Desktop is open with a model loaded.
- Relaunch Claude Desktop.
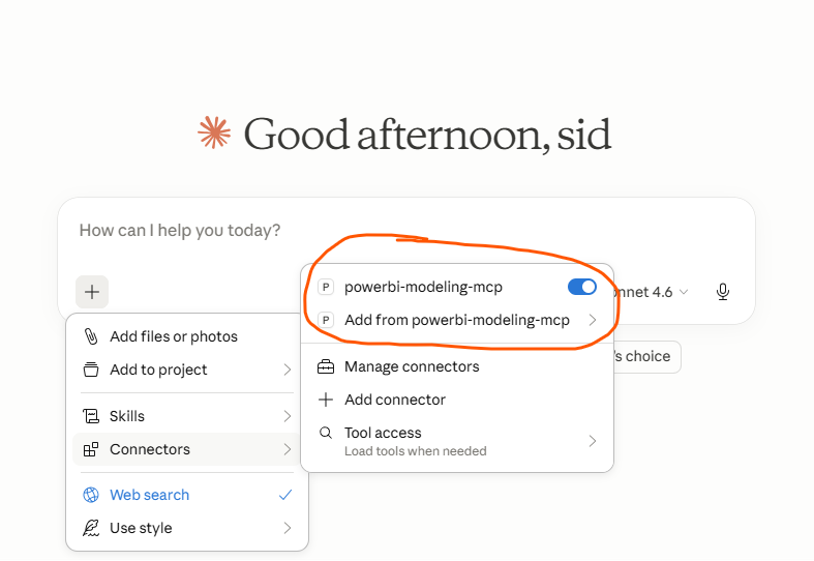
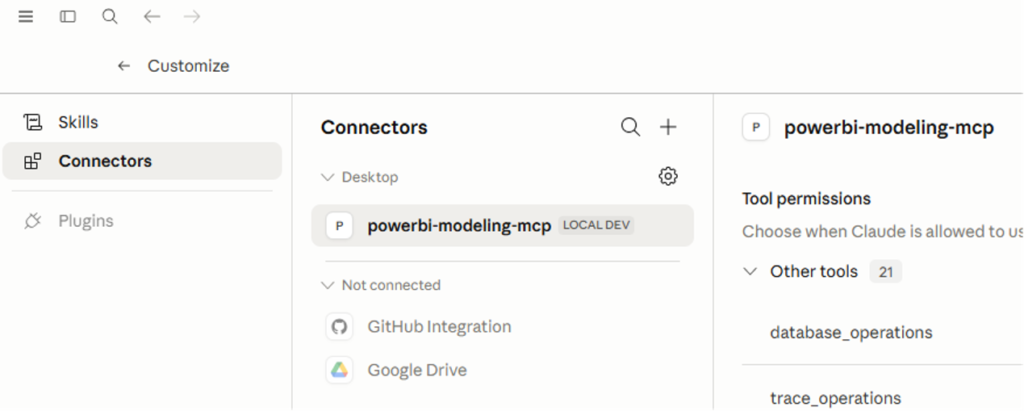
- Look for a plug icon or a message in the bottom-right of the chat box indicating that the Power BI MCP server is connected (Like either of the pic below) – just to verify.
Step 5: Your First Prompt
Once connected, you don’t need to provide context manually. Start by asking Claude to look at your open file.
Try this prompt:
“Connect to the open Power BI Desktop file and list all the tables in my model.”
Claude will now use the MCP tools to query your model schema and return the results directly in the chat.