The Mac guide is doing this:
Claude Code
↓
Fabric MCP Server
↓
Microsoft Fabric / Power BI Service
On Windows, the process is VERY similar.
The only differences are:
- installation commands
- paths
- terminal commands
Do this on Windows (exact steps)
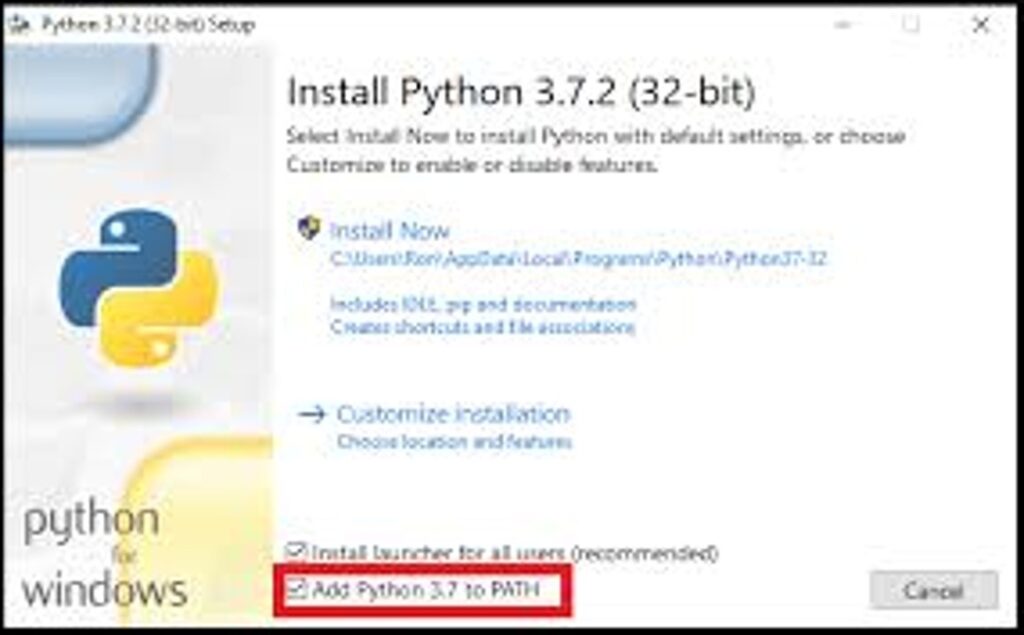
STEP 1 — Install Python
Install Python first:
IMPORTANT during installation:
✅ tick:
Add Python to PATH
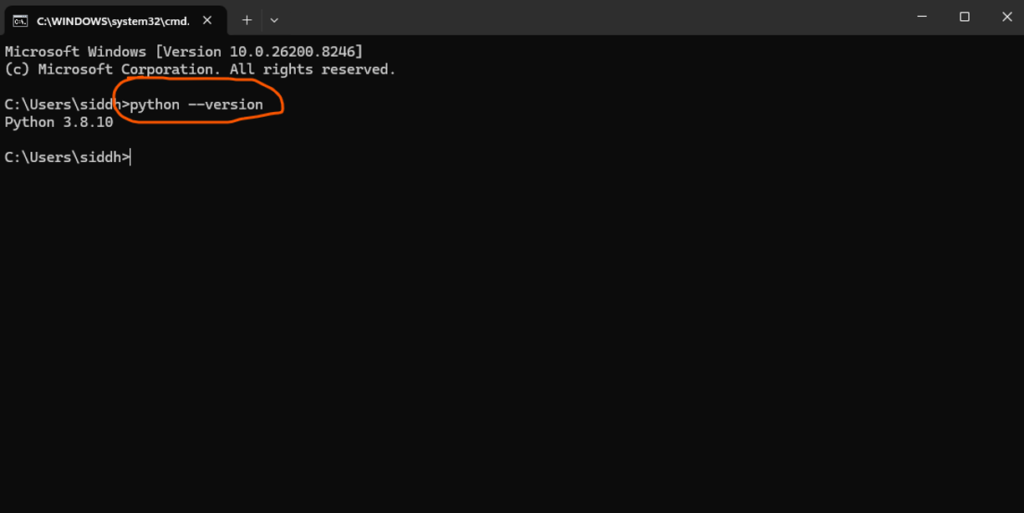
 Then open terminal (WIN + R and then cmd).
Test:
python –version
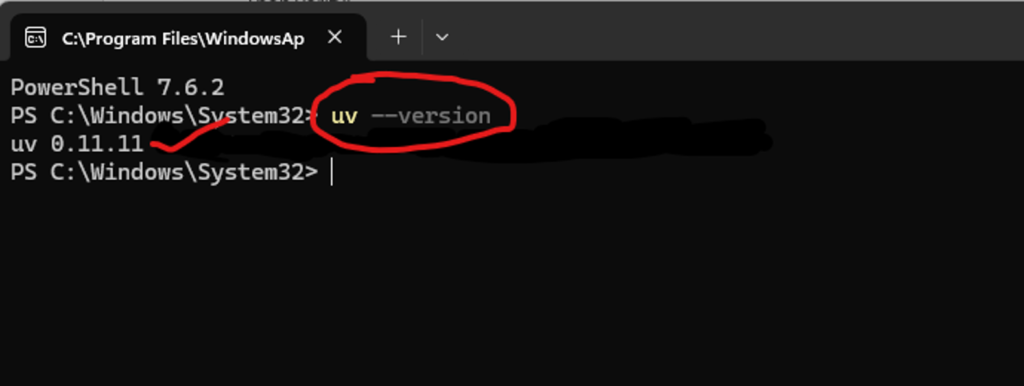
 STEP 2 — Install UV
Mac used:
brew install uv
Windows uses:
Open PowerShell:
pip install uv
Then verify:
uv –version
 The article uses uv to run the Fabric MCP server.
STEP 3 — Install Azure CLI
Install:
Using Azure CLI Windows Installer
Open PowerShell/ terminal and paste winget install –exact –id Microsoft.AzureCLI
After installation:
Open PowerShell:
az login
Browser opens → login with Microsoft/Fabric account.
Then verify:
az account show
This authenticates your machine with Microsoft cloud/Fabric.
STEP 4 — Install Fabric MCP Server
Now run:
uv tool install ms-fabric-mcp-server
OR if that fails:
pip install ms-fabric-mcp-server
Then test:
uvx ms-fabric-mcp-server –help
 If it shows help/options → working correctly.
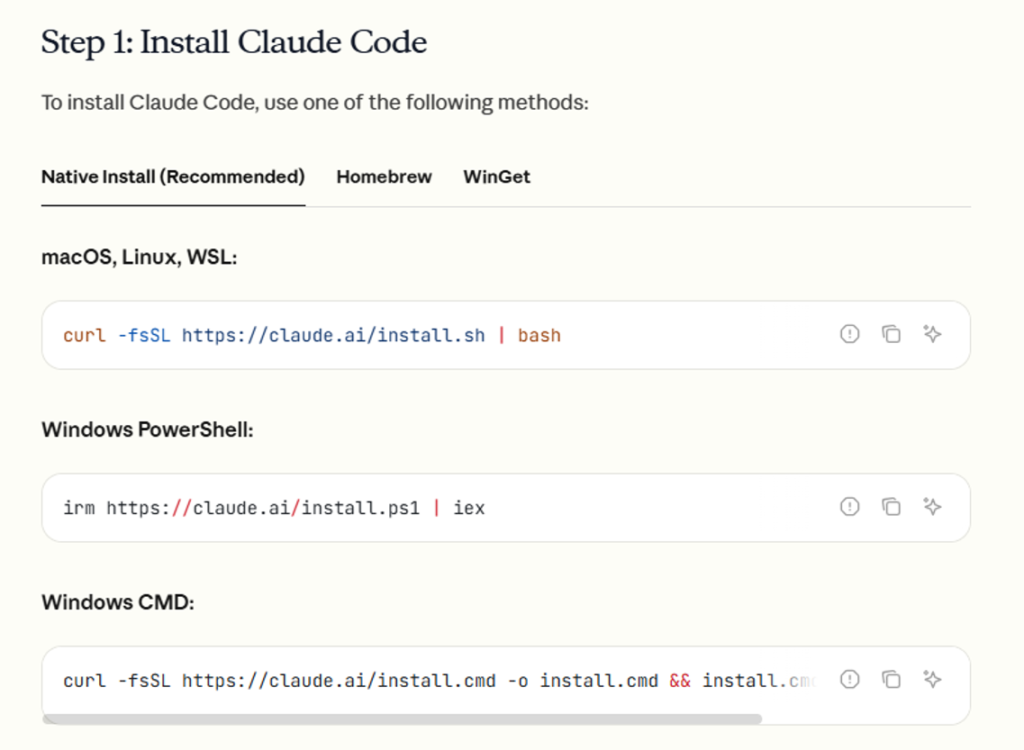
STEP 5 — Install Claude Code (IMPORTANT)
The article uses:
Claude Code
NOT normal Claude Desktop.
Install Claude Code:
Using Claude Code Docs
STEP 6 — Add Fabric MCP to Claude Code
Open PowerShell:
Run this EXACTLY:
claude mcp add fabric — cmd /c uvx ms-fabric-mcp-server
IMPORTANT:
On Windows, Claude docs explicitly say to use:
cmd /c
otherwise MCP servers can fail with:
Connection closed errors.
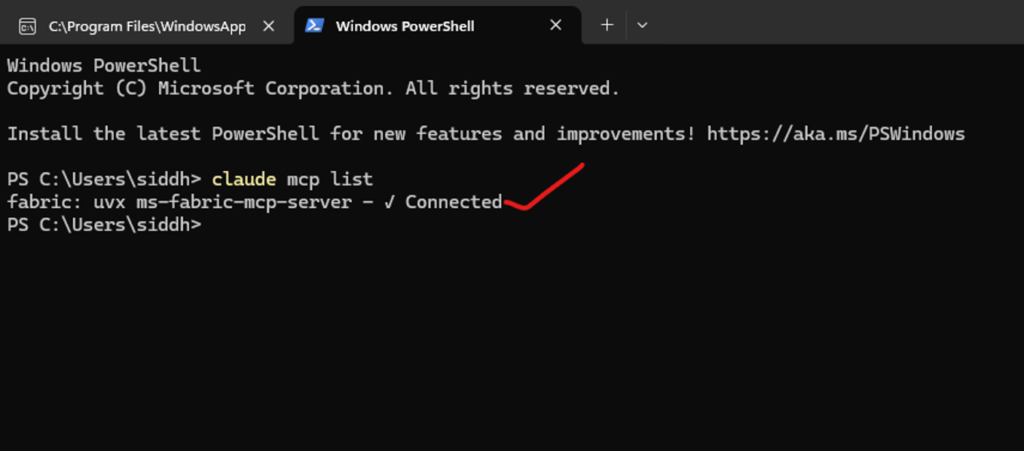
STEP 7 — Verify MCP connected
Run:
claude mcp list
You should see:
Fabric
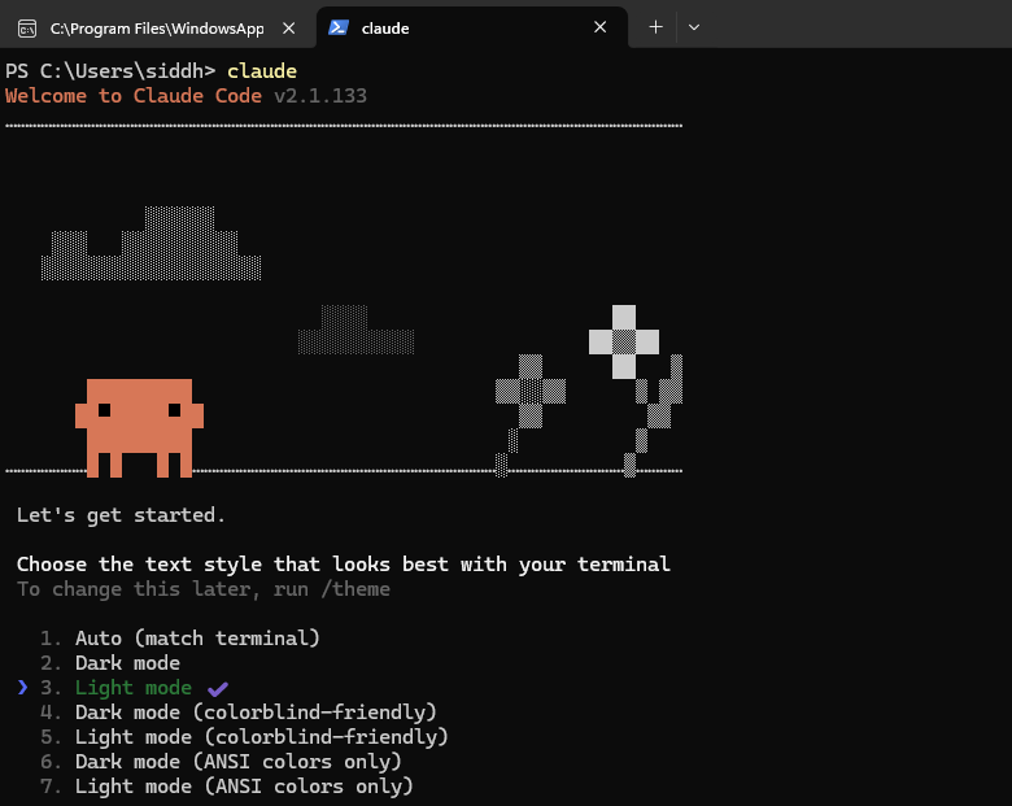
 STEP 8 — Open Claude Code
Start Claude Code by typing Claude in the terminal.
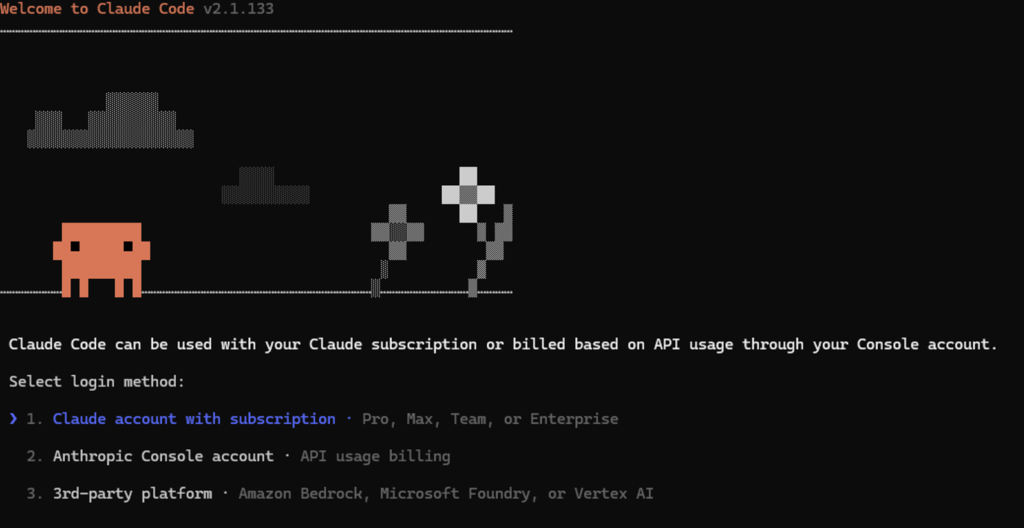 Then connect to your account with subscription.
Then type:
/mcp
You should see Fabric MCP connected.
STEP 9 — Login/authenticate
Claude may open browser authentication.
Login with your:
- Fabric account
- Power BI account
STEP 10 — Test Fabric access
Now ask Claude:
List my Fabric workspaces
Then:
Show available Lakehouses
Then:
Show semantic models
What this gives you
After setup Claude can:
✅ inspect Fabric workspaces
✅ inspect Lakehouses
✅ inspect Warehouses
✅ generate pipeline JSON
✅ help create pipelines
✅ help with Power BI semantic models
✅ help write SQL
✅ help with Fabric architecture
✅ analyze metadata
Exactly what the article showed.
IMPORTANT DIFFERENCE
You were earlier configuring:
Claude Desktop JSON
That was mainly for local Desktop MCP.
For Fabric cloud integration:
Use Claude Code CLI instead.
Much easier and cleaner.
Your final Windows command
This is the key command:
claude mcp add fabric — cmd /c uvx ms-fabric-mcp-server
That is basically the Windows equivalent of the Mac article.